
Okay, so, first, I decoupaged a box that that I'm using as a jewelry box for the pieces I want to sell (you know, rather than the cardboard box I had them in). I even put a little handle on it and mirror inside it! It's really cute. Here it is:
[caption id="attachment_200" align="aligncenter" width="300" caption="All finished!"]

[/caption]
Now, of course, getting to this point, what with the Mod Podge and the cutting and the mess (you should see my sweat pants--covered in modgy fingerprints. Oh yeah--and I used paint, too!) was quite a bit of chaotic fun!
I started with all my shtuff...
[caption id="attachment_193" align="aligncenter" width="300" caption="Like how I laid it all out so nicely for a pic? :)"]
 [/caption]
And then, of course, about half-way through, I realized I needed more shtuff. No pics of that, though... So then I got to painting the inside. Also, no pics. There was far too much mess going on to pick up the camera. I'm gonna wait a few more months before I get paint on it.
And then I had to measure. Well, sort of. I did measure the sides so I wouldn't waste too much paper, cause it was all pretty and stuff! But of course, I only measured the one time, and so my measurements aren't all spot on. My father would be so disappointed (he's a pro at the measuring thing...) But in the end, I did find a use for most of those left-over paper bits I did end up with (more on that in another post. Tomorrow, maybe...) So, after all the measuring and the cutting and the modgin' and the podgin' was done, I ended up with this:
[caption id="attachment_195" align="aligncenter" width="300" caption="kinda cool, if I do say so myself...."]
 [/caption]
So then, for the finishing touches. I really wanted a handle on it, and I had visions of a suitcase like handle, but I have no spare suitcases, so I had to improvise something else. I also wanted it to have a bit more interest goin' on up top there, and I have these large chip-board butterflies. I have no clue where they came from, but they've been in my stash for awhile. So I took some of that paper and 'podged it up, and painted the ugly cardboard sides. While I was at it, I took a length of pink ribbon and raided my bead stash for some large hole beads. I found some great wooden ones, and strung those on the ribbon. Then, to the toolbox I wandered! With the help of my trusty staple gun, I attached the ribbon, and then used my E-6000 epoxy to attach the butterfly on top. And wah-lah! A handle and some interest!!!
[caption id="attachment_196" align="aligncenter" width="300" caption="gotta love E-6000!!!!!!!"]
 [/caption]
As the glue dried, I was pondering the inside. Okay, truth be told, the glue wasn't so much dried as still very glue-y when I thought "Hey, a mirror would be cool!" And it just so happens, I had a perfect mirror to use! Back to the E-6000, slapped some dollops on the back of the mirror, press it into the inside top, prop it open, and then a few minutes later, discover that the glue from the butterfly is now dripping onto the coffee table. Oops!!! So I flipped the whole mess upside-down! Eventually, it dried. well, the butterfly bit did. I discovered the next day, after I closed the lid for a few minutes, that the mirror bit was still oozing. So, back open it went! Finally, that all dried.
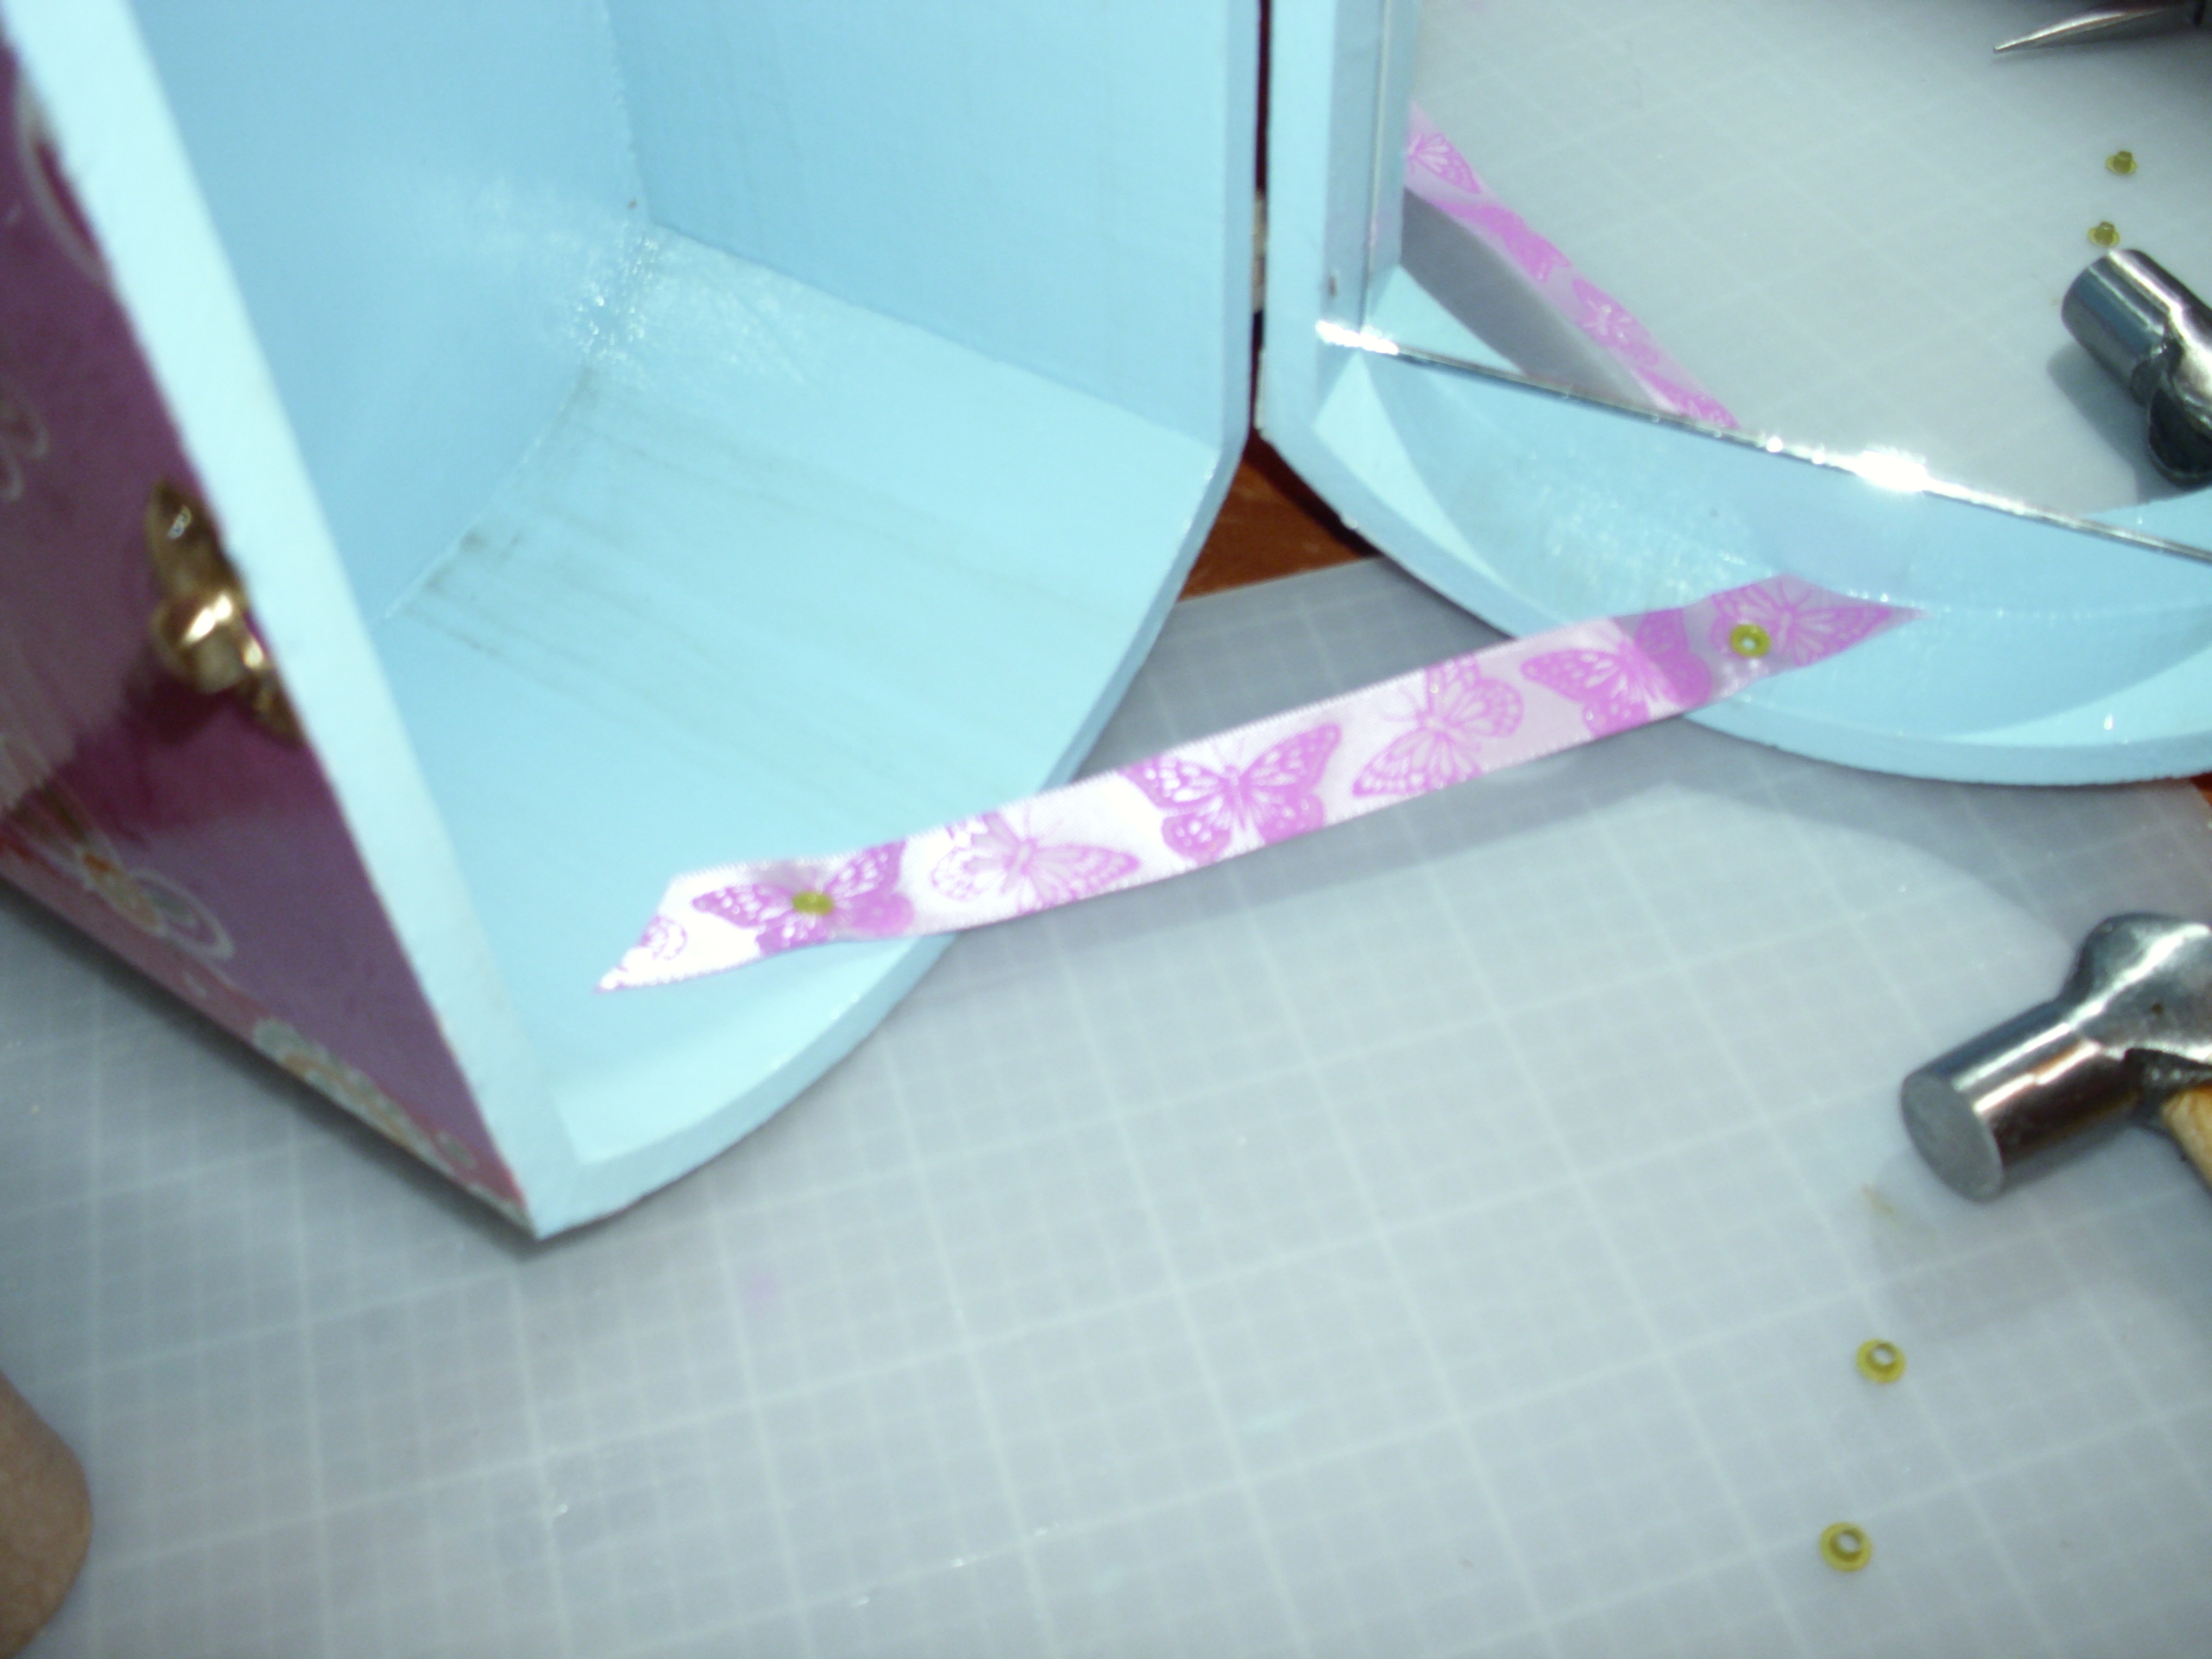
Then, I realized, there's no easy way to see yourself in the mirror if you're playing with jewelry, since it just flipped all the way open... so, I had to add some catcher-thingies... I'm sure they have an actual name, but I know not what it is. Anyway, I used more ribbon, E-6000, and eyelets. And let me say, I need a punch that will punch a hole in ribbon... that was not fun... and in retrospect, this part should get done BEFORE the mirror goes in... But I made it work:
[caption id="attachment_197" align="aligncenter" width="300" caption="Just hammer those eyelets in there! And use the E-6000 to make sure they stay!"]
 [/caption]
And that was it! Here's some more close up shots, after the fact:


[caption id="attachment_202" align="aligncenter" width="300" caption="And finally, filled with stuff!"]
 [/caption]
You know, I'm really tempted to make another one to use as a purse. It's too cute!! And more on the rest of my crafty weekend soon!
RLW

