And not a moment too soon! I actually managed to finish all the grading about 3 hours ago, which must be some sort of record for me. But finally! It's done! I have a whole month of blissful free days ahead of me! No more slightly neurotic, occasionally forgetful, but still wonderful students! They're all off relaxing (I hope...) YAY!!!!
Of course, for the next week, I'll be frantically making Christmas gifts (starting with the cards I need to go finish up here shortly. I still have 100 passes through the Sizzix to go. Joy....) I have ornaments to make, jewelry to string, wreaths to design, and a couple of gift cards to buy (so of course, I'm going to have to make holders for those!)
I also have myriad ideas floating around in my head of things I want to try... Thankfully I've got my art journal and while I can't sketch to save my life, I'm pretty good at writing descriptions... lol! I really want to work on this bracelet idea I have using weaving and earring forms... we'll see how it works out...
Right now, I'm either off to sleepy-time land, or off to finish the die-cutting... not sure which. Either way, stay tuned for pics of projects coming, since I'm out of school and have some time to play again!
Showing posts with label Cards. Show all posts
Showing posts with label Cards. Show all posts
17 December 2010
14 September 2010
Craftin' Cards!
So, after I decorated my cute lil' jewelry box the other day, I gathered up all my shtuff to take it back up to the craft room... which was, not to put too fine a point on it, an utter mess... In some respects it still is... But, I decided I could do something about the table, which is, after all, my main craft area. So I started gathering, and tossing things that had no use (bits of plastic string from beads mostly. No fear--I kept all the good stuff!) and organizing the left-over beading stuff from the other stuff. See, a few months ago, I felt it necessary to move all my jewelry making stuff down to the coffee table. I was getting overwhelmed. And there it has stayed since. But, it has gotten used!!! So the craft room is now a bit more focused on mostly paper crafts and painting/Mod Podge projects.
As I gathered, I ran across lots of random bits of cardstock, mostly of the small-but-I-can't-throw-it-out-because-I-might-find-a-use-for-it-one-day variety. So, I started organizing all my paper bits. 4 folders and one box later, I can actually find things. woo-hoo!!!! And in with the smallish bits, I found 13 pieces of card-ish sized cardstock. So, there was nothing for it but that I play (although, I did finish organizing the table first--after all, gotta have a work space!)
Here's the newly organized table:
[caption id="attachment_222" align="aligncenter" width="491" caption="Imagine this as a huge heaping mess, and you'll have the before picture...."] [/caption]
So after I cleaned it all up and found all my stamp pads and got organized again, I creased all the paper, made the cuts I needed to square things up, and set to work. I actually set myself a little challenge--I would not, under any circumstances, touch another full-sized piece of paper. The goal was to try to use up as much of the bitsy bits as possible (sad to say, I still have loads of them left...) I am happy to report--I succeeded!! 13 cards in all, with varying degrees of difficulty, and using all manner of fun bits. I really had a blast with this, and I think I will definitely set myself another task like this in the future.
Here's a smallish list of what I used: mostly Stampin' Up! stamps (I primarily stuck to just one set of sayings I have); the plain cardstock was mainly Stampin' Up! as well, and all the patterned bits were things I've been gathering over the years, mostly from Michaels and the Dollar Tree (in fact, you'll recognize some from the patchwork table and the jewelry box I decorated over the past two weeks.) Likewise, all my accent pieces are things I've been gathering, from all manner of craft store. Oh, but I did make rat use of the Creative Memories circle cutter I got from my friend Sara (I love my friends who want to be crafty but just don't carry through--I get their stuff, usually! yay!!!) Oh, and I used Mod Podge on one!
Here are the pics:
[caption id="attachment_208" align="aligncenter" width="819" caption="the 'montage' shot!"]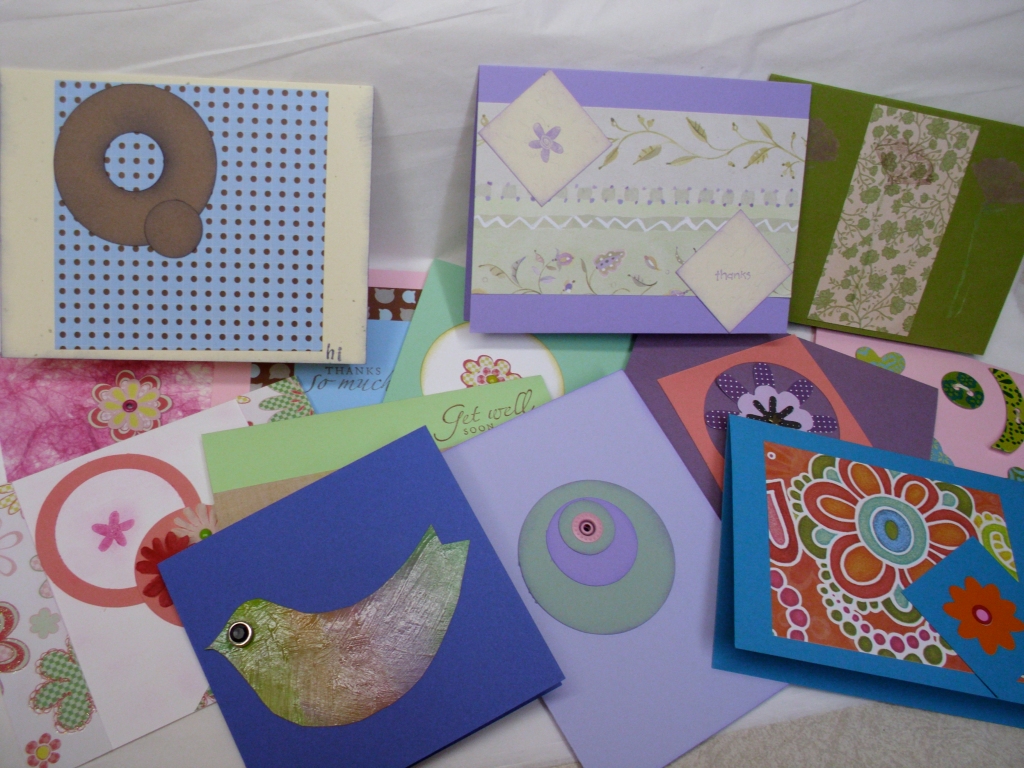 [/caption]
[caption id="attachment_210" align="aligncenter" width="300" caption="after I ink'd him & blend'd him, I m'podge'd him! "] [/caption]
[caption id="attachment_209" align="alignleft" width="300" caption="girly! "]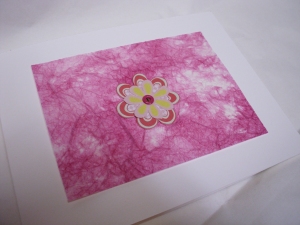 [/caption]
[caption id="attachment_211" align="alignleft" width="300" caption="I love the colors!!!"] [/caption]
[caption id="attachment_212" align="alignleft" width="300" caption="hi..."]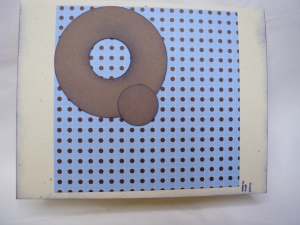 [/caption]
[caption id="attachment_213" align="alignleft" width="300" caption="I maybe should have stopped while I was ahead with this one, but it's still cute!"]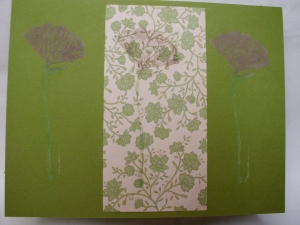 [/caption]
[caption id="attachment_214" align="alignleft" width="300" caption="a pretty thanks!"] [/caption]
[caption id="attachment_215" align="alignleft" width="300" caption="yeah, I had bit of purple floating around..."] [/caption]
[caption id="attachment_217" align="alignleft" width="300" caption="You never know when you'll need a Get Well card..."]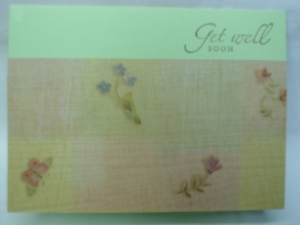 [/caption]
[caption id="attachment_218" align="alignleft" width="300" caption="These are supplies mostly from a Card-making club I briefly joined..."] [/caption]
[caption id="attachment_219" align="alignleft" width="300" caption="Friends Forever!"] [/caption]
[caption id="attachment_220" align="alignleft" width="300" caption="I love the cat heads!"] [/caption]
[caption id="attachment_221" align="alignleft" width="300" caption="Chipboard buttons! and Embroidery thread! woot!!!"] [/caption]
[caption id="attachment_223" align="alignleft" width="225" caption="Circling..."] [/caption]
As I gathered, I ran across lots of random bits of cardstock, mostly of the small-but-I-can't-throw-it-out-because-I-might-find-a-use-for-it-one-day variety. So, I started organizing all my paper bits. 4 folders and one box later, I can actually find things. woo-hoo!!!! And in with the smallish bits, I found 13 pieces of card-ish sized cardstock. So, there was nothing for it but that I play (although, I did finish organizing the table first--after all, gotta have a work space!)
Here's the newly organized table:
[caption id="attachment_222" align="aligncenter" width="491" caption="Imagine this as a huge heaping mess, and you'll have the before picture...."]
 [/caption]
So after I cleaned it all up and found all my stamp pads and got organized again, I creased all the paper, made the cuts I needed to square things up, and set to work. I actually set myself a little challenge--I would not, under any circumstances, touch another full-sized piece of paper. The goal was to try to use up as much of the bitsy bits as possible (sad to say, I still have loads of them left...) I am happy to report--I succeeded!! 13 cards in all, with varying degrees of difficulty, and using all manner of fun bits. I really had a blast with this, and I think I will definitely set myself another task like this in the future.
Here's a smallish list of what I used: mostly Stampin' Up! stamps (I primarily stuck to just one set of sayings I have); the plain cardstock was mainly Stampin' Up! as well, and all the patterned bits were things I've been gathering over the years, mostly from Michaels and the Dollar Tree (in fact, you'll recognize some from the patchwork table and the jewelry box I decorated over the past two weeks.) Likewise, all my accent pieces are things I've been gathering, from all manner of craft store. Oh, but I did make rat use of the Creative Memories circle cutter I got from my friend Sara (I love my friends who want to be crafty but just don't carry through--I get their stuff, usually! yay!!!) Oh, and I used Mod Podge on one!
Here are the pics:
[caption id="attachment_208" align="aligncenter" width="819" caption="the 'montage' shot!"]
 [/caption]
This first one has the Mod Podge. I actually based the bird on a pic I saw over at The Dabbling Mum, whom I found through Creating the Hive.
[caption id="attachment_210" align="aligncenter" width="300" caption="after I ink'd him & blend'd him, I m'podge'd him! "]
 [/caption]
[caption id="attachment_209" align="alignleft" width="300" caption="girly! "]
 [/caption]
[caption id="attachment_211" align="alignleft" width="300" caption="I love the colors!!!"]
 [/caption]
[caption id="attachment_212" align="alignleft" width="300" caption="hi..."]
 [/caption]
[caption id="attachment_213" align="alignleft" width="300" caption="I maybe should have stopped while I was ahead with this one, but it's still cute!"]
 [/caption]
[caption id="attachment_214" align="alignleft" width="300" caption="a pretty thanks!"]
 [/caption]
[caption id="attachment_215" align="alignleft" width="300" caption="yeah, I had bit of purple floating around..."]
 [/caption]
[caption id="attachment_217" align="alignleft" width="300" caption="You never know when you'll need a Get Well card..."]
 [/caption]
[caption id="attachment_218" align="alignleft" width="300" caption="These are supplies mostly from a Card-making club I briefly joined..."]
 [/caption]
[caption id="attachment_219" align="alignleft" width="300" caption="Friends Forever!"]
 [/caption]
[caption id="attachment_220" align="alignleft" width="300" caption="I love the cat heads!"]
 [/caption]
[caption id="attachment_221" align="alignleft" width="300" caption="Chipboard buttons! and Embroidery thread! woot!!!"]
 [/caption]
[caption id="attachment_223" align="alignleft" width="225" caption="Circling..."]
 [/caption]
Subscribe to:
Posts (Atom)

